
Calligraphy course · Innsbruck
Learn calligraphy by hand, one letterform at a time.
A local course built for people who have never held a dip pen before. Sessions run in small groups. Every nib, ink pot and sheet of paper is set out before you sit down.
What a session involves
What actually happens when a complete beginner walks in?
Nothing is assumed. The course starts from how to hold a pen and works forward from there, at the pace of the group in the room that evening.
Pens and nibs
Dip pens, oblique holders and a small selection of nib widths are laid out at each seat. No personal equipment is required to attend.
Ink
Sumi and iron gall inks are provided, along with a couple of coloured options depending on the format booked for that session.
Practice and final paper
Guide-lined practice sheets are used first. A heavier finishing paper is handed out once the letterforms start to hold their shape.
Guides and drills
Printed guide sheets, slant lines and warm-up drills are part of every course format, adjusted to the script being taught that week.
Course formats
Six ways to start, depending on what you want out of it
Each format below is taught as its own small-group session. Expand a heading to read what it covers and what you leave with.
This is where most people start. The session covers pen grip, ink loading, pressure control and the basic strokes that make up most lowercase letters. No previous drawing or handwriting experience is assumed, and left- and right-handed setups are both covered.
Brush pens replace the dip pen for this format. The focus sits on thick downstrokes, thin upstrokes and connecting letters into simple words. It suits people who want a looser, more contemporary style than traditional scripts.
A broad-edge nib is used to build a formal italic hand, letter by letter, using the pen angle and x-height ratios that historically define the script. The pace is slower and more structured than the brush format.
Aimed at people preparing for a personal event, this session applies the basic strokes to addressing envelopes and short invitation lines. Layout, spacing and working on a curved or awkward surface are covered directly.
Less about lettering, more about materials. This session explains how different nibs, inks and paper weights behave together, so participants understand what they are choosing once they consider buying their own set later on.
A quieter, unstructured evening for people who have already been through the foundations format and want table space, materials and light guidance to keep practising a script at their own pace.
Inside the studio
A few things worth knowing before your first evening

A table set before you arrive
Seats are limited on purpose. Each session takes a small number of participants, so a seat, pen, ink pot and practice sheet are already arranged when the door opens. There is no waiting for equipment to be shared around.
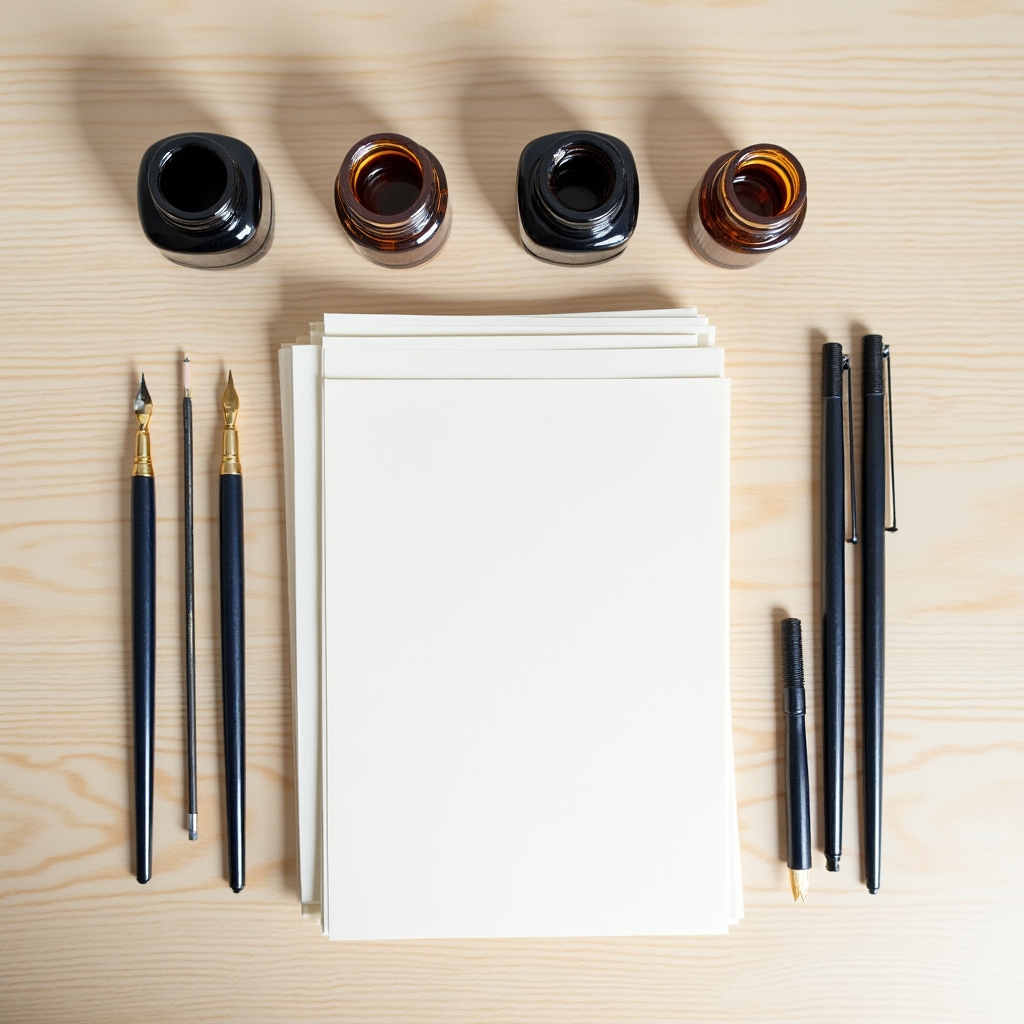
Every material accounted for
Nibs, holders, ink and paper are counted out and prepared ahead of the session. Nothing needs to be bought or brought in beforehand. Anyone arriving with their own preferred pen is welcome to use it alongside the studio set.
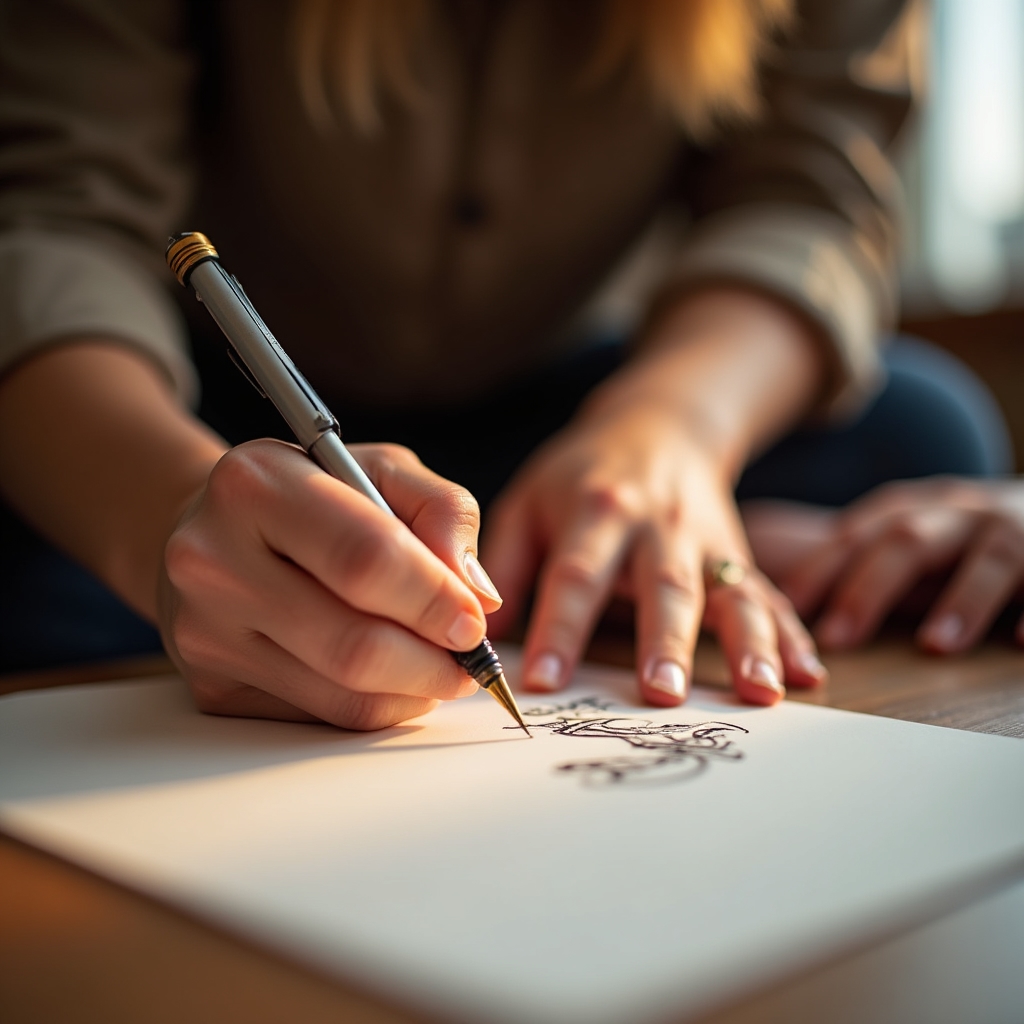
Guidance without pressure
Correction happens at the table, one person at a time. Because the group stays small, there is time to look at an individual letterform rather than moving on before someone has actually understood the stroke.

A studio built for focus
The room is kept quiet during practice segments. Daylight comes in from one side, tables are spaced apart, and background music, if any, stays low enough not to interrupt concentration on the page.
Session structure
How a two-hour session unfolds
The structure below applies to most formats, with small variations depending on the script being taught.
Arrival and pen selection
Participants pick a seat, and the instructor briefly checks nib width and hand preference before anyone starts writing.
Warm-up strokes
A short set of straight lines, curves and ovals loosens the hand and gets ink flowing evenly through the nib.
Letterform instruction
One or two letter groups are demonstrated at a time, on a board or sheet visible from every seat in the room.
Guided practice
Participants repeat the letters on their own sheets while the instructor moves table to table offering small corrections.
Take-home piece
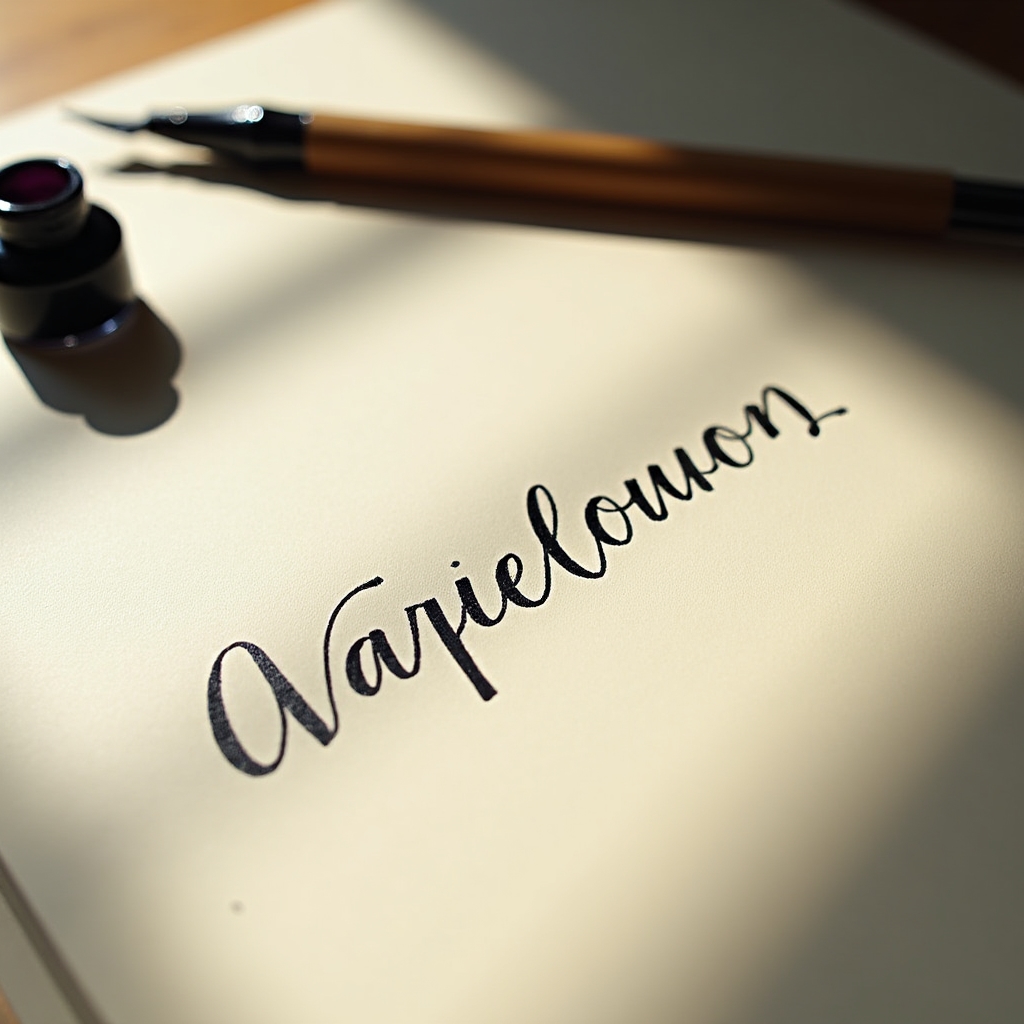
The final part of the session moves to the heavier paper, where each person writes a short word or line to take home.
Questions
Common questions from people booking a first session
No. The foundations format is built around the assumption that participants have not used a dip pen before. Handwriting speed or neatness beforehand does not affect how the session is taught.
Pen angle and paper position are adjusted individually for left-handed participants. It is worth mentioning when booking so a seat with enough elbow room can be arranged in advance.
Yes. Pens, nibs, ink, guide sheets and both practice and finishing paper are provided during the session. There is nothing additional to purchase or bring for the course itself.
Group sizes are kept small, generally within a single table arrangement, so the instructor can check in with everyone during the practice segments of the session.
Nothing is required. Some participants bring a notebook for personal notes on nib sizes or ink mixes, but this is optional and not part of the course materials.
Yes. The take-home sheet from the final part of the session belongs to the participant. Ink needs a short time to dry fully before rolling or folding the paper.
Considering a first session?
Contact details and a short overview of upcoming small-group sessions are listed on the contact page.
Go to contact page